In the colorful world of art education, every stroke of paint and every sculpted form carries not just the weight of artistic expression, but also a commitment to environmental stewardship. While Earth Day may serve as a poignant reminder of our collective responsibility to protect the planet, art teachers embody earth consciousness every single day, weaving sustainability into the fabric of their classrooms.

In this post, several of my favorite art teachers share their best practices and classroom-tested lessons as we we explore the benefits of recycling in the art room. From repurposing materials and fostering creativity to instilling a sense of environmental responsibility in their students, these educators exemplify a dedication to preserving the Earth that extends far beyond a once-a-year celebration.
COST-EFFECTIVE SOLUTIONS
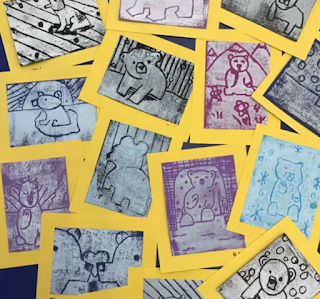
"My absolute favorite way to get the best bang for your buck in the art room is to implement a yearlong artist trading cards project. They’re miniature art projects the size of a playing card. And they cost nothing to create!
RESOURCEFULNESS AND CREATIVITY
Limitations often fuel creativity, and recycling presents the perfect opportunity for students to think outside the box. By repurposing materials that would otherwise end up in landfills, students are challenged to find new uses and innovative ways to incorporate them into their artwork. This encourages resourcefulness and cultivates a mindset of creative problem-solving—a valuable skill both inside and outside the art classroom. Whitney from Look Between the Lines has some impressive 3D inspiration for us:
"My favorite Earth Day project is my found object assemblage project. This is a great way to bring sculpture into other art classes or focus on a found object-style sculpture in your sculpture classes. This can be introduced on Earth Day, with a focus on what materials can be reused and turned into a work of art. My favorite found object artists are Tara Donovan and John Dahlsen, I use them as artist exemplars to inspire my students before they start their project. Students are responsible for collecting their materials. While waiting for materials to come in they prep wood panels, where they attach their materials, brainstorm and research ideas, and sketch out designs. Experimentation and thinking ahead are key to creating a successful work of art. I also recommend having an in-progress and final critique with students as they work on their assemblages.

EMPOWERING STUDENTS THROUGH OWNERSHIP
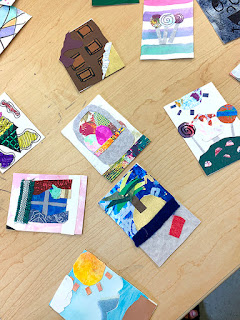
"Embracing recycled materials as art supplies in an elementary classroom is not only cost-effective but also instills a sense of environmental responsibility in young students. Sorting bins for various reusable items such as cardboard, scrap fabric, colored paper, string, and containers transforms waste into a treasure trove of creative potential. This approach encourages children to see the value in everyday items, fostering a culture of sustainability and innovation. For instance, cardboard pieces can become the canvas for a collage, string and fabric scraps can be woven into a textured tapestry, and old containers can be transformed into whimsical sculptures. Such activities nurture creativity, as students learn to work with what's available, adapting their artistic visions to the materials at hand. This method is particularly beneficial for schools with limited budgets, offering endless possibilities for artistic expression.
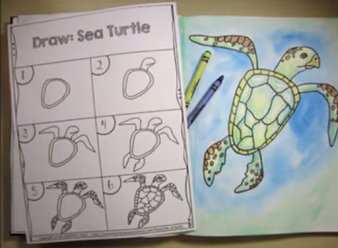
Directed drawing activities, like the Earth Day Themed Directed Drawings, provide a structured yet flexible framework for art projects. These guided exercises can be adapted to whatever materials are on hand, allowing students to choose from a variety of mediums or work with specific ones based on current supplies. This not only enhances their drawing skills but also teaches them to be resourceful and imaginative, key qualities in both art and life. "
If this sounds like the perfect activity for you, visit her website to plan quickly and teach confidently.
BUILDING CONNECTIONS
Recycling in the art classroom provides an opportunity to forge connections with the broader community. Partnering with local businesses, recycling centers, and environmental organizations can enrich students' learning experiences and expand their understanding of sustainability initiatives in their community. Many times art teachers are the recipients of large scale donations of random materials from community partners. Next, Sabrina from A Space to Create Art shares an example of how to use donated boxes or containers to creating meaningful artworks.
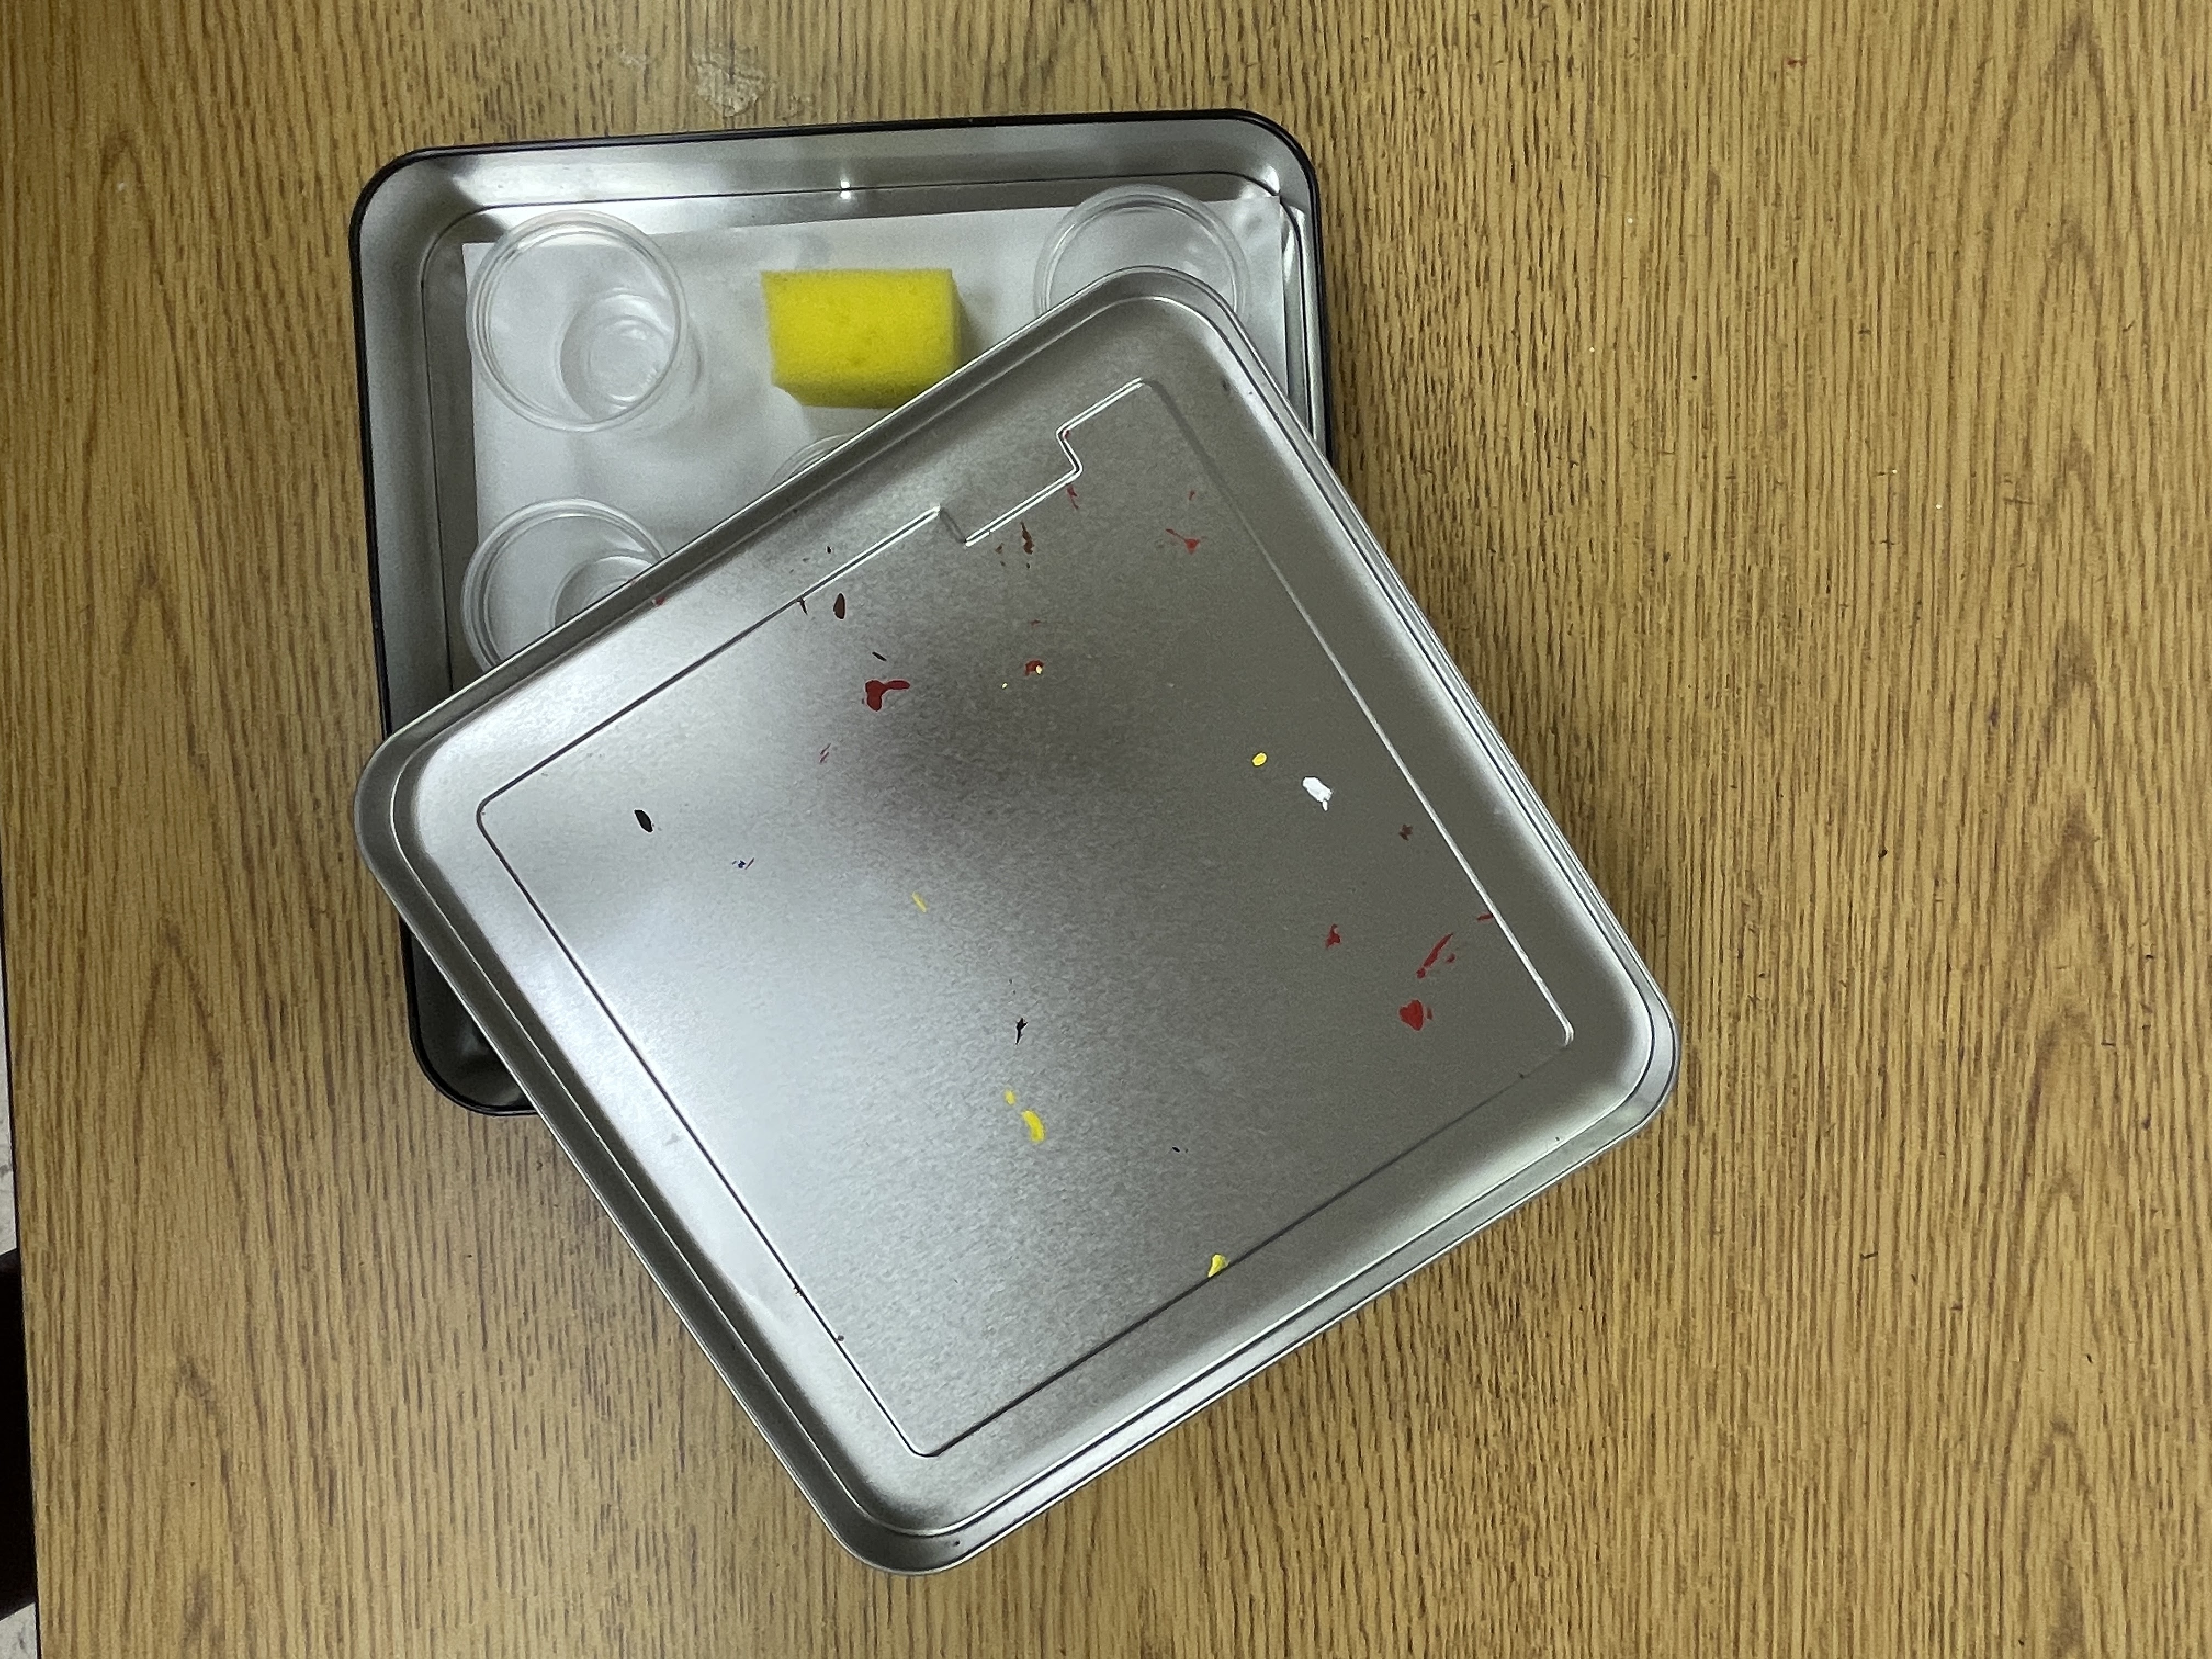
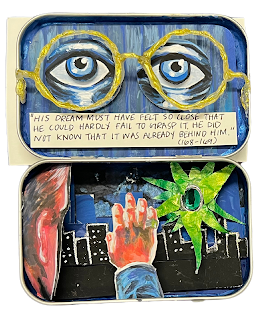
"In this assemblage piece, high school and middle school art students learn about artist Joseph Cornell and create a mixed-media sculpture inside a mint tin. Their art is based on a famous novel’s quote or theme. By marrying visual art and literature, they delve into the nuances of storytelling, exploring themes, characters, and settings in a tangible and tactile form.
Joseph Cornell was known for his pioneering work in assemblage art. Cornell's distinctive style transformed found objects into captivating compositions housed in shadow boxes and glass-fronted cases. His pieces often evoked a sense of nostalgia and wonder, blending elements of surrealism and collage to create dreamlike worlds.
As students breathe life into their sculptures, they embark on a personal and introspective journey. Each sculpture becomes a testament to the power of imagination and the transformative nature of art. Below is an example created by a student based on the novel The Great Gatsby by F. Scott Fitzgerald."
FOSTERING ENVIRONMENTAL CONSCIOUSNESS
Exposure to Earth-friendly art-making approaches can encourage our young artists to think in a globally conscious, macro beneficial way. By being environmentally-thrifty and eco-aware in our art teaching, we potentially seed future creative solutions in our artists, while providing them with some ‘food for thought’ regarding their own use of the earth’s limited resources.”

In her blog post here, Stephanie shares a few practical tips for earth-friendly (and budget- conscious!) art materials, equipment and supplies. Check out her TPT store here here.
CONCLUSION
Integrating recycled materials and sustainable practices into your art room offers a multitude of benefits that extend far beyond the school day. Changing a few habits or lessons each year can have a monumental impact over the course of your career. Need help getting started? My previous post on Earth Day lessons has several project ideas you can incorporate easily. By embracing recycling as an important part of the artistic process, educators have the power to inspire future generations to create positive change—one masterpiece at a time.
ART TEACHER-AUTHORS THAT CONTRIBUTED TO THIS ARTICLE:
Stephanie from Picassa’s PaletteAmie from Glitter Meets Glue
Whitney from Look Between the Lines
Kathleen from Ms. Artastic